How to Integrate IPcook with ixBrowser [Simple Steps]
Struggling to figure out how to connect IPcook with ixBrowser? You know they're a powerful combo, but the practical steps, like where to find your proxy credentials or how to input them into a new browser profile, can be a bit confusing. This guide will clear all that up for you. We'll walk you through the entire process, step by step, showing you exactly how to make these two tools work together seamlessly. Ready to get started? Let's dive in.What Is IPcook?
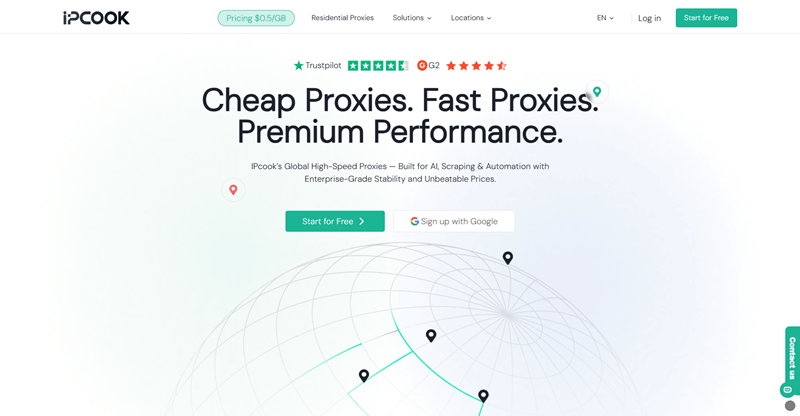
Ever wished you could browse the web without leaving a trace? That's exactly what IPcook offers. It's a specialized residential proxy service that gives you access to real IP addresses from actual home networks. This means your online requests look just like those of a regular person surfing the web. Their main job? Providing you with clean, reliable IPs for sensitive online tasks. Whether you're into data scraping or need to manage multiple profiles, their network helps you stay under the radar.Here are some of its standout features:
1.Elite-Level Anonymity: IPcook provides elite proxies that leave no trace. Your requests don't contain any proxy-related headers, making you virtually undetectable to websites. This high-anonymity level is perfect for sensitive tasks.
2.A Massive Pool of IPs: With over 55M+ IPs across 185+ locations, you'll never be short on options. You can easily choose a specific country or even a city, which gives you precise control over your digital location.
3.Flexible IP Rotation: You can either set IPs to rotate with every request, or use the sticky session feature to keep the same IP for up to 24 hours. This is ideal for tasks that require a stable connection.
4.Fast Speed and High Concurrency: IPcook offers impressive connection speed and allows each account to handle up to 100,000 concurrent threads, supporting even the most demanding projects.
5.Easy Integration and Management: It works seamlessly with various tools and scripts. Plus, you can create 10 free sub-accounts, making multi-account management within a team simple and cost-effective.
6.Try Before You Buy: New users get 0.1GB of free traffic to test the service. This lets you see firsthand how their proxies can improve your workflow before committing.
How IPcook Proxies Help with Your Tasks?
Now, you know what IPcook is. But how does it actually make your digital life easier? Simply put, by routing your traffic through genuine residential proxy networks, it removes the roadblocks that usually stop automated tasks. Below are some common scenarios where it shines.1.Smooth Web Scraping: Say goodbye to getting blocked. For any data scraping project, IPcook's elite proxies make your requests look human. This lets you gather public data from websites without triggering security alarms.
2.Safe Social Account Management: Managing multiple client accounts? Using residential IPs reduces the risk of your accounts being linked together and thus suspended, making multi-account management much safer.
3.Ad Verification and Market Research: Need to see what ads are running in another country? You can use a proxy from that specific location. This gives you accurate, geo-targeted data for your competitive analysis.
4.Sneaker and Limited-Edition Copping: In the fast-paced world of online drops, every millisecond counts. IPcook's fast, reliable connections and high concurrency give you a competitive edge to secure high-demand items.
5.Price Monitoring: Track competitor prices across different regions without being detected. The rotating IPs allow you to collect this data continuously, providing you with the insights needed for dynamic pricing strategies.
How to Integrate IPcook with ixBrowser
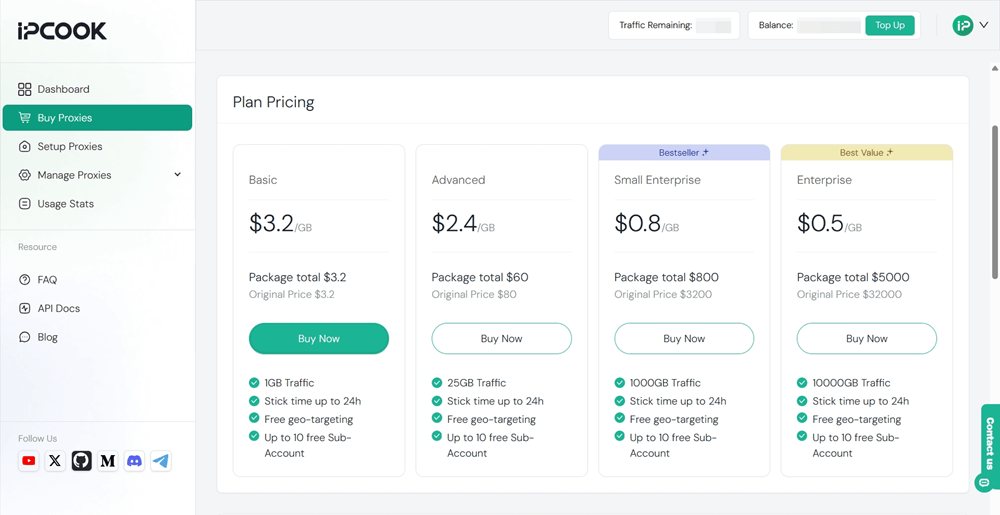
After learning the basics of IPcook, I'm sure you are eager to know how you combine its proxies in ixBrowser. Now, take the step-by-step guide below to get things set up.Step 1. Buy Residential Proxies from IPcook
Visit the IPcook official website and log in to your account (or sign up for a new one). Go to the "Buy Proxies" tab and top up your account. Then, choose a pricing plan that matches your requirements and pay for it.
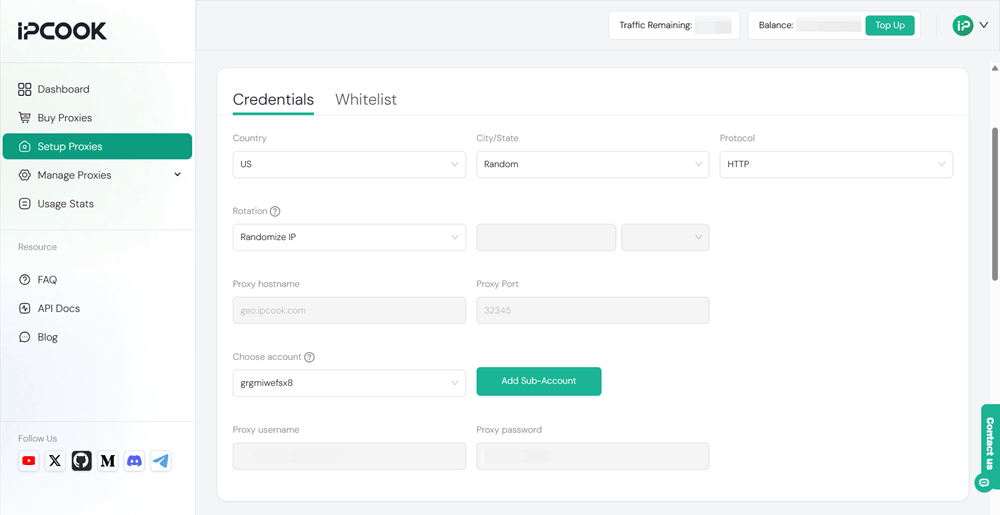
Step 2. Obtain Proxy Credentials
Switch to the "Setup Proxies" section, where you need to configure the parameters like country and protocol. Plus, add a sub-account to allocate your purchased data. Afterward, you will get the proxy details, including hostname, port, username, and password.
Step 3. Install ixBrowser and Log In
Go to the ixBrowser website to download the anti-detect browser and get it installed on your computer. In addition, sign up for an account for later use.
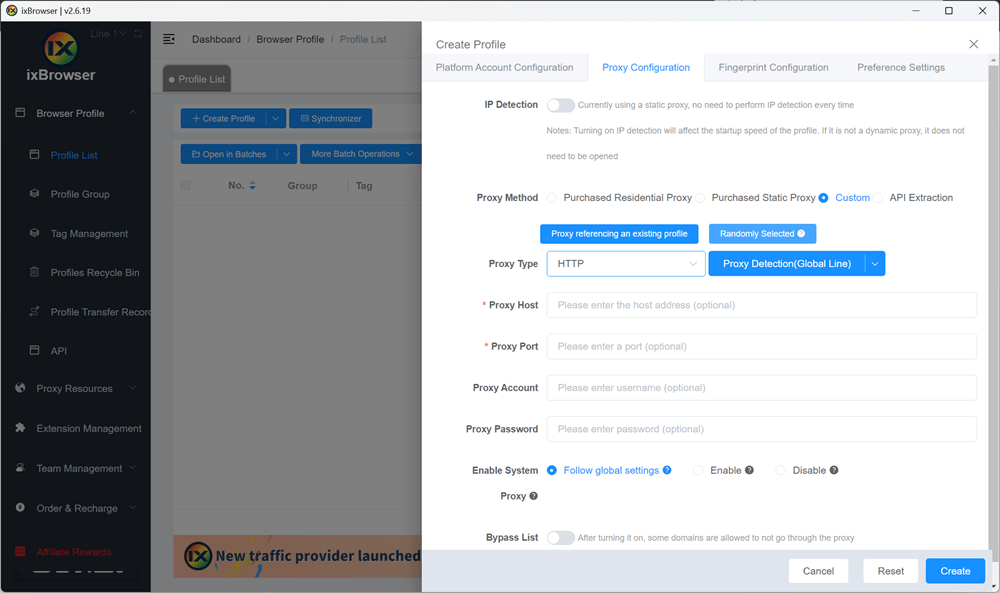
Step 4. Create a New Browser Profile
Launch ixBrowser on your computer and log in to your account. Click "Create Profile" under the "Profile List" tab. In the pop-up window, configure the settings according to your needs. For the "Proxy Configuration" section, you can copy and paste the proxy credentials you get from IPcook into the relevant fields. Click "Create" in the bottom-right corner when you are done.
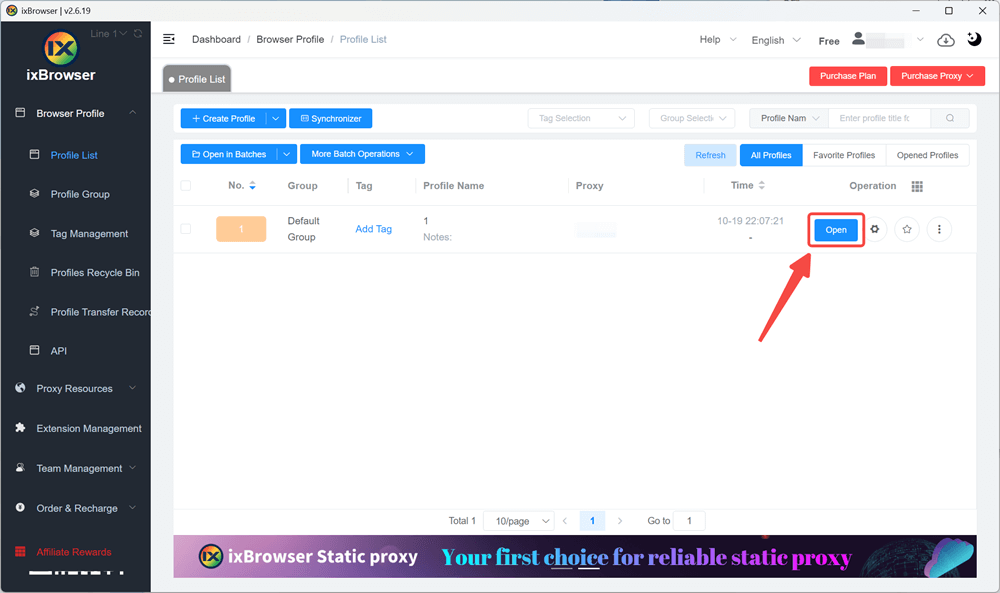
Step 5. Start Browsing Online
Now the profile is created with a unique IP address. Click the "Open" icon to start the browser profile, and you can do anything you want without revealing your online identity.